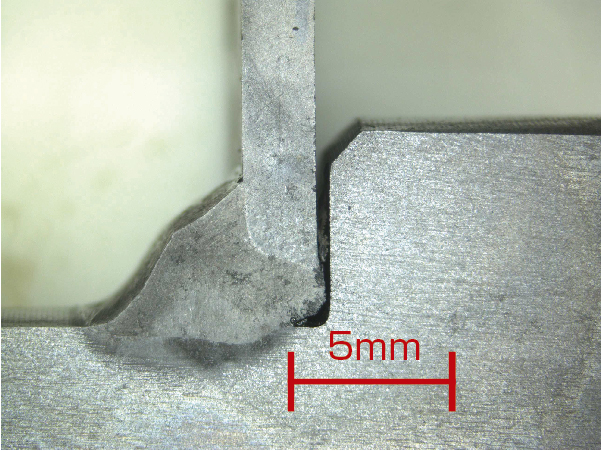
Welding is used in the metal joining process, and the welded area is crucial for product safety. Therefore, inspections such as measuring fusion volume are conducted. The dimensions of fusion are measured on cross-sections to inspect for insufficient fusion, welding defects, clearances, excess fusion, and more.
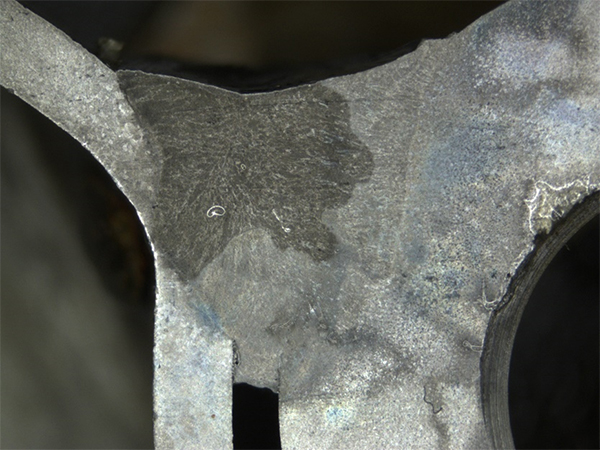
<Preparation>
Inspection of fusion in the welded area requires the following preparation:
①Cutting the test part.
②Polishing the cross-section.
③Etching treatment using chemicals or electrolysis, depending on the material.
These preparations are done to facilitate observation and dimension measurement. Leave these pre-treatments to the experts, and we will introduce the perfect product for measuring weld fusion volume.
<Capture and Dimension Measurement>
We promptly captured and measured with our microscope.
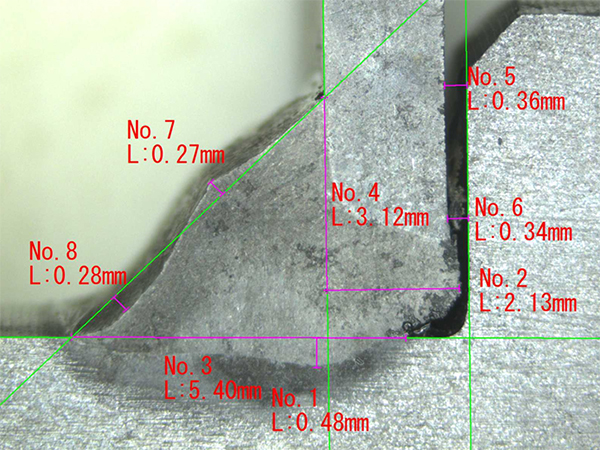
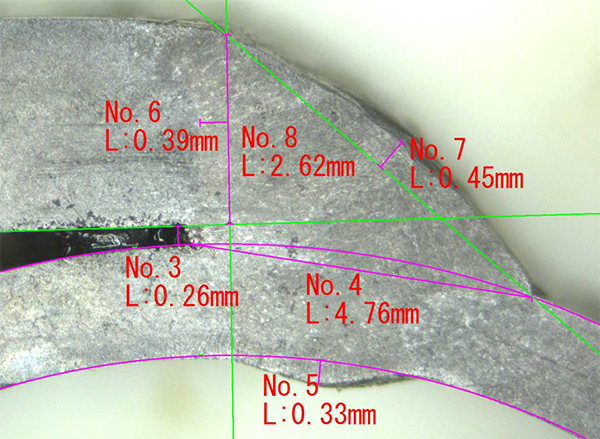
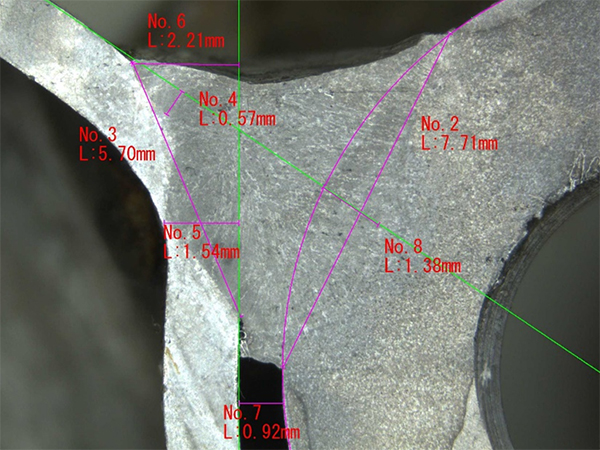
This involves:
・Generating reference lines
・Measuring distances from the intersection of reference lines
・Creating parallel lines
・Measuring perpendicular distances from reference lines
Repeating these steps can be time-consuming, especially with a large number of samples.
With our measurement software, we offer features that assist in such measurements, reducing inspection time and streamlining the process of measuring weld fusion volume.
<Features of the Measurement Software Used>
①Crossline Generation
By clicking anywhere on the screen with the mouse, you can generate crosslines. If there is any misalignment, you can easily adjust the line position by clicking again.
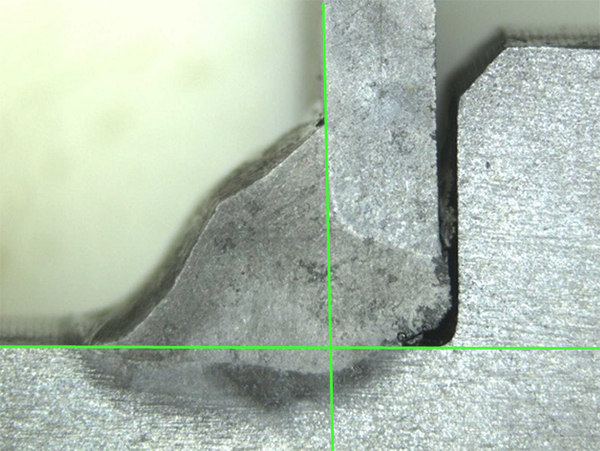 |
You can also change the color and line width. |
② Abundant Measurement Items
There are various measurement items available, which can be used for actual measurements as well as reference lines. When used as reference lines, you can turn off the measurement value display. In particular, ‘Vertical Distance’ was quite useful in this case. Additionally, you can change the display color for each measurement line and value individually.
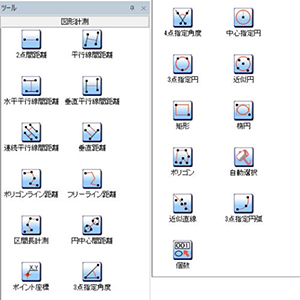 |
●Two-Point Distance |
③Automatic Edge Fit Function
When you move the mouse cursor close to the line you want to measure, it automatically fits to the edge. This reduces human errors by the operator and allows for accurate measurements.

④Pinpoint Digital Zoom Function
By scrolling the mouse wheel, you can zoom in or out digitally with the cursor point as the center. This further reduces human errors by the operator. It’s an intuitive feature that allows easy zooming and is very convenient.

⑤Scale Display
You can display the scale at any desired location with the size you want.
⑥One-Click Report Function
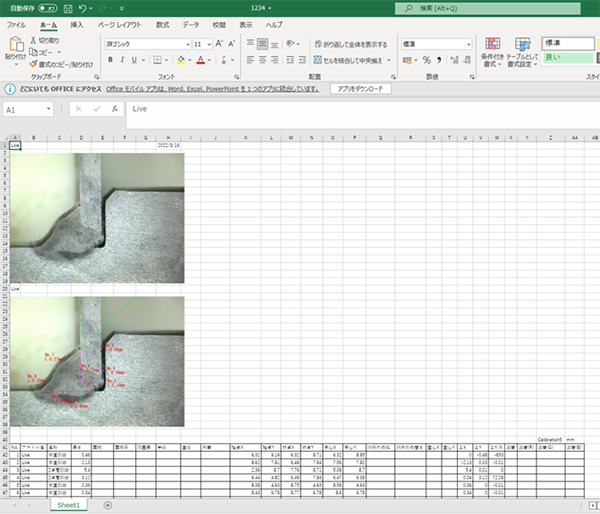
With a single click on the Excel output button, measurement data is transferred to Excel. This allows easy data processing and graph display in Excel. Raw images, images with measurements and lines, and measurement values are all exported to Excel in one click, saving time in report creation. It’s a highly convenient feature.
The measurement software used in this case can be found here
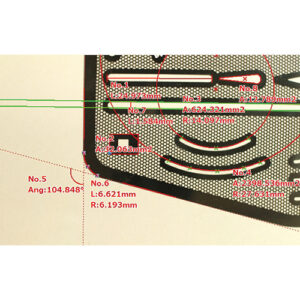
| ●High-Performance Image Processing Measurement Software MFShip |
 |
The measurement software used in this case can be found here
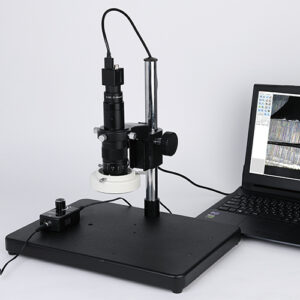
| ●USB3.0 Microscope TG500CS |
 |

