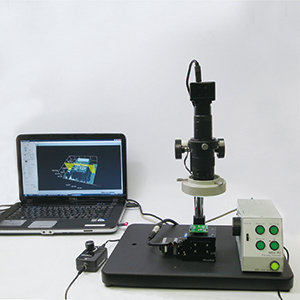
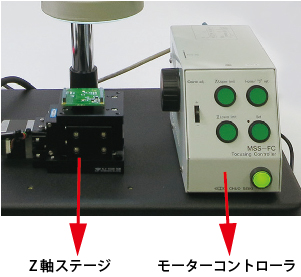
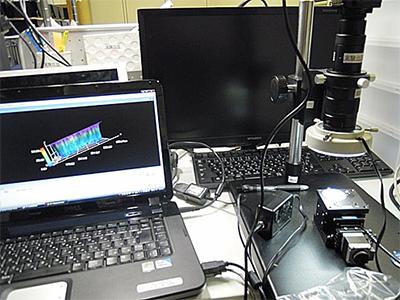
We would like to introduce the height measurement (Z-axis measurement) system.1. System configurationInstall the Z-axis stage and motor controller on the microscope. |
|
 |
 |
| We use this system, Mitani Shoji’s focus synthesis software, and 3D creation software. | |
2. How to operate |
|
| (1) Focal stacking | |
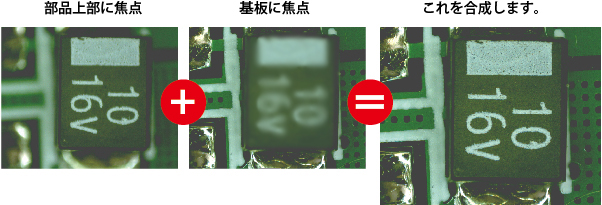 |
|
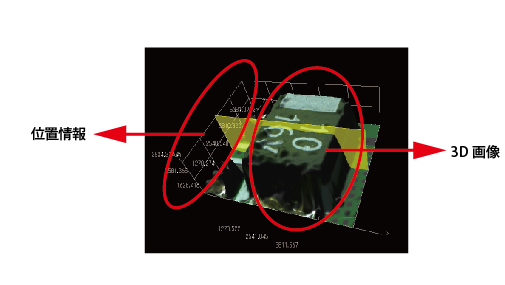
| (2) Create a 3D image | |
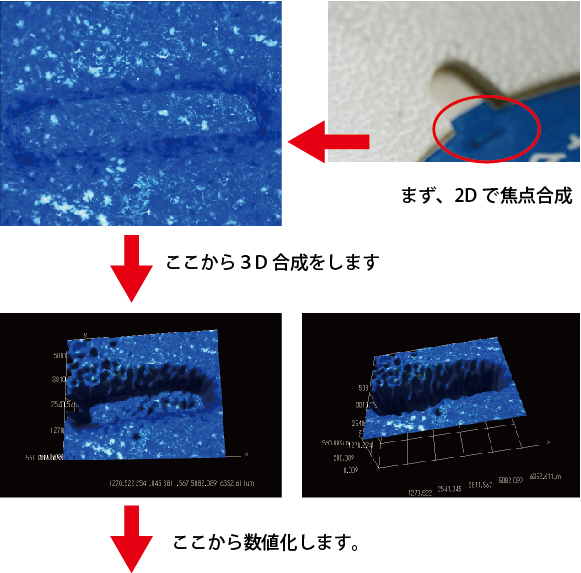
| (2) Create a 3D image: Combine the photo synthesized with a microscope with the position information of the motor to create a 3D image. | |
 |
|
 |
 |
|
From the microscope, you can’t see a vertical or near-vertical surface, so the wall surface is a little more stable, but height measurement can be done without any problems. If there is a slope on the wall, a relatively clean 3D image can be created. As an example, make a 3D image of a dent in a cardboard box. |
|
 |
|
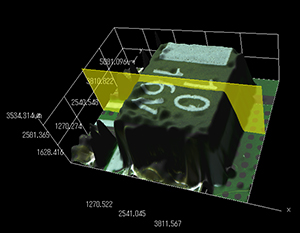
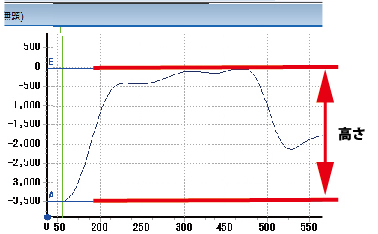
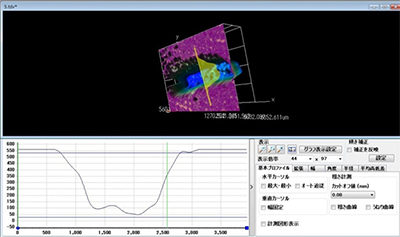
| From here, arbitrary dimensions and cross-sectional shapes can be determined. The yellow line below is an arbitrary line.
|
|
 |
|
 |
|
| Since it is not a measuring machine, there is no accuracy. The smallest step in the Z-axis table (0.5 μ in this case) is the resolution. Depending on how you use it, you can achieve a certain degree of accuracy. |
|

