1.What is grain size?
There are many types of metals, and it is necessary to select the appropriate metal material according to its usage and purpose.
For example, car engine parts and general metal parts use different metal materials.
This is because the mechanical properties (such as durability against external forces such as tension and compression shear) vary greatly depending on the metal material.
In order to evaluate this metal property, it is necessary to observe the crystal structure of the metal structure.
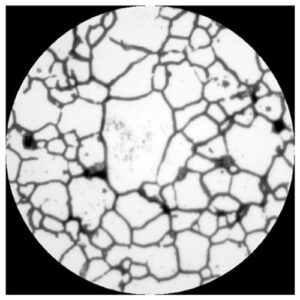
The metallographic structure is a polycrystalline structure with a crystal structure composed of crystal grains.
There are regions with disordered arrangement between the crystal grains, and the boundaries between these regions are grain boundaries.
The grain size of these crystal grains (crystal grain size) is an important factor that determines the mechanical properties of such metal materials.
Generally, grain size refers to the “size of crystal grains” in materials such as metals.
Furthermore, the metal structure changes not only depending on the type of metal material such as aluminum, iron, and alloys, but also due to heat treatment.
Even if the metal or alloy is of the same type, heat treatment will cause the crystal grains to align in a specific pattern, forming grain boundaries that are different from those before heat treatment.
Therefore, heat treatment changes the grain size and changes the mechanical properties and properties of the metal.
Therefore, grain size analysis is an important test for quality assurance of metal products.
・austenite grain
Face-centered cubic grains containing annealing twins
・ferrite grain
Body-centered cubic make-up flow that does not contain annealing twins
2.Grain size analysis method
①Visual comparison between standard diagram and metallurgical microscope (comparison method)
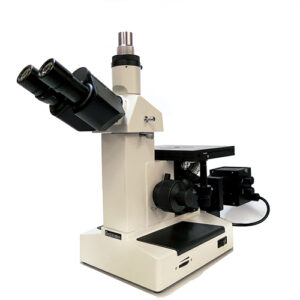
We perform pretreatment such as polishing the metal surface and observe it with a metallurgical microscope.
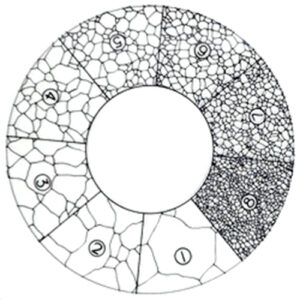
“Austenite grain size standard diagram for steel (x100) JIS G 0551” and metallurgical microscope
Visually compare the enlarged metal structures and estimate the grain size.
 |
金属顕微鏡の詳細はこちら |
However, you have to take your eyes off the metallurgical microscope for a while, which is a hassle.
②Comparison of simultaneous observation by incorporating an eyepiece micrometer into a metallurgical microscope (comparison method)
Use an eyepiece micrometer (reticle) with a grain size pattern printed on it as shown below.
Insert it into the eyepiece of the metallurgical microscope and view the enlarged sample and particle size standard pattern.
Simultaneously observe and visually compare to estimate grain size.
This is easy because you can simultaneously observe and compare without taking your eyes off the metallurgical microscope.
 |
R1901 particle size scale manufactured by Shibuya Optical Co., Ltd. |
③ Calculated by incorporating an eyepiece micrometer into a metallurgical microscope and comparing simultaneous observations (counting/quadrature method, cutting method)
An eyepiece micrometer (reticle) with a pattern like the one below printed on it.
It is inserted into the eyepiece of a metallurgical microscope, and the magnified sample and its pattern are displayed.
This is a method that complies with the JIS G0551/ASTM E112 standard, which calculates the grain size by determining the average length of a line segment per grain when crossing inside the grain.
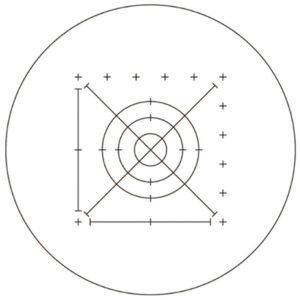 |
Manufactured by Shibuya Optical Co., Ltd. R2010-24 Steel – Grain size test method scale (cutting method) |
④ Particle size measurement using software using a camera (compatible with comparison method, counting/quadrature method, and cutting method)
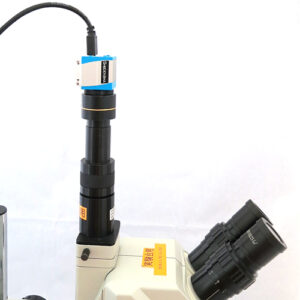
In addition, a microscope camera is attached to the metallurgical microscope and automatic measurements are performed using the following measurement software.
This method enables automatic measurement and is very efficient.
 |
顕微鏡用USB3.0カメラ(500万画素) の詳細はコチラ |
 |
の詳細はコチラ |
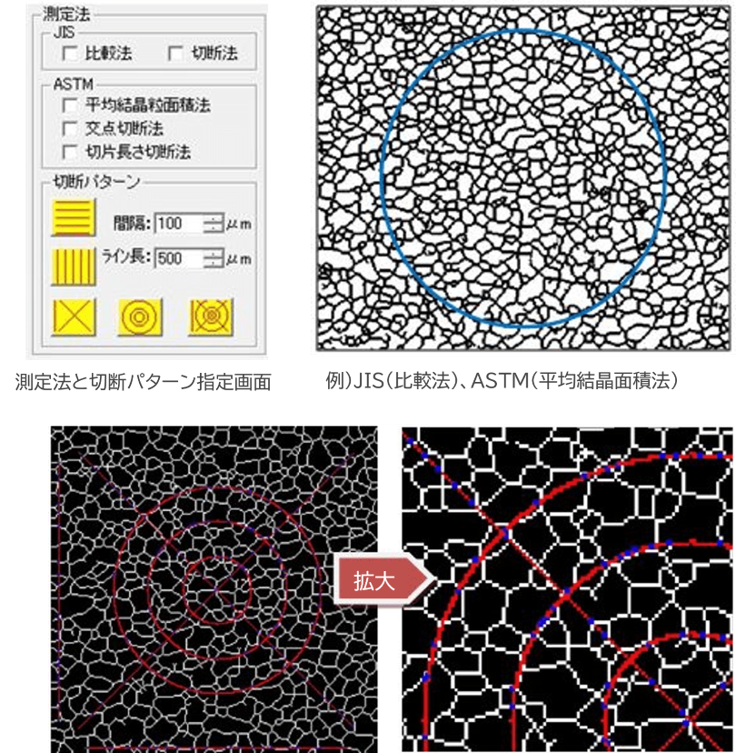
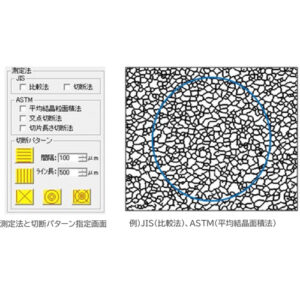
◆Grain size measurement using particle analysis software G-S Measure[Compliant with JIS and ASTM standards! ]
This is a grain size evaluation tool that complies with the following standards.
[Up to 12 types of particle size measurement possible! ]
・The evaluation method is to perform up to 12 measurements at the same time depending on the combination of cutting patterns, and calculate the particle size number.
[Cutting patterns can be selected from 5 types! ]
・For the cutting method, you can select from 5 types of cutting patterns and set the spacing and line length.
[Useful for creating reports! Excel output]
– Grain size measurement results can be output to Excel (CSV format). 。
<Measurement display example> ASTM (intersection cutting method, intercept length comparison method) In the display after measurement, areas where grain boundaries overlap the cutting pattern are displayed in blue. |
3.Summary
If grain size analysis is infrequent, using an eyepiece micrometer is the best method.
You can keep costs down.
If it is done frequently, there will be an initial cost, but it can be done using software using a microscope camera.
The automatic measurement method is recommended because it is automated and labor-saving.
The software also has other useful features.

