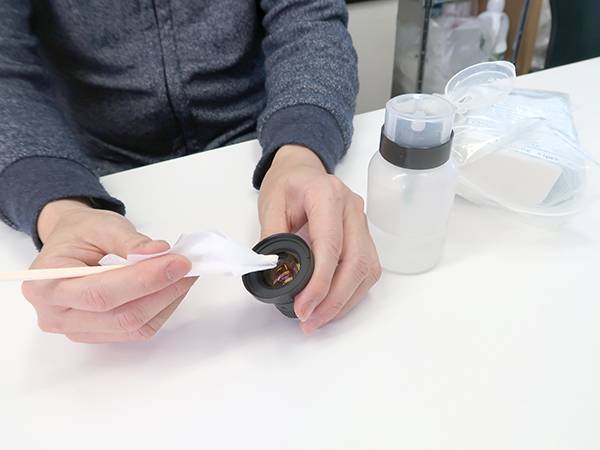
Fluorescence is a weak amount of light emission and requires a highly sensitive camera.
Therefore, the camera used for fluorescence microscopy is usually a cooled CCD camera (monochrome).
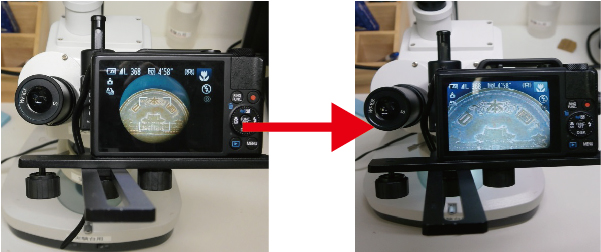
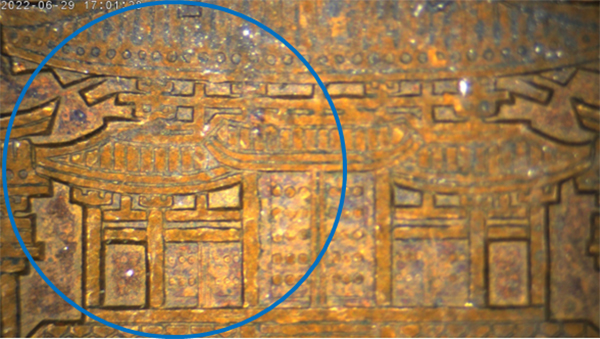
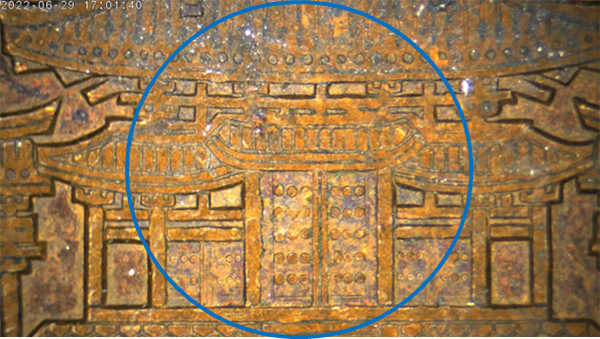
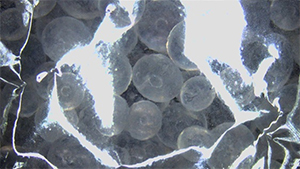
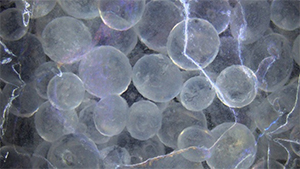
Recently, there is also fluorescence emission in the visible light range, and if there is an amount of fluorescence emission at the visible light level (a level that can be seen with the naked eye), fluorescence observation can be performed with a single color camera.
In that case, there are some things to keep in mind, so please check the following.
・Sensitivity
Sensitivity is the ability to distinguish between noise and signal.
Noise occurs when the original signal cannot be distinguished from the signal emitted by the equipment.
Camera shooting under low light usually produces noise.
There is one more thing, another noise.
Noise occurs during fluorescence observation when “dark current” is generated due to an increase in exposure time.
Dark current is the leakage of electrons during camera exposure, and dark current has the property of doubling for every 7°C rise in temperature.
Sensor temperature has a large effect on dark current, but especially when shooting under low light and the exposure time is long, it can lead to a decline in the signal-to-noise ratio and image quality.
To prevent this, the camera usually has to be cooled. Therefore, a cooled CCD is used.
However, depending on the fluorescence conditions, this may not be necessary.
Generally, cooled CCD cameras are often expensive, and as long as the fluorescence reaction is strong enough, there is no problem even if the camera is forced to cool using a fan or Peltier device.
・Check wavelength sensitivity
Is the camera sensitive to fluorescence wavelength?
Light has wavelengths, and we need a camera sensor that can detect the fluorescent wavelengths. Although it depends on the conditions, fluorescence emission is generally a very weak amount of light.
First, we need to make sure that the camera can detect and is sensitive to that fluorescence wavelength.
You can tell whether a camera has a sensitivity characteristic by looking at its spectral sensitivity characteristic diagram.
・dynamic range
A camera sensor converts light into a signal with a “dynamic range” (the ratio of the maximum to minimum required amount of charge), which determines the camera’s light detection performance.
・Is the camera sensor CCD or CMOS?
Although CCD sensors are still installed in high-end cameras, they are becoming less common due to the rise of CMOS sensors.
In particular, recent CMOS sensors have almost the same performance as CCD sensors in terms of cost, number of pixels, speed, noise, power consumption, etc., so I don’t think you need to worry about that.
・Is the shutter method global shutter or rolling shutter?
CCD sensors only have a global shutter method.
For CMOS sensors, you can choose between global shutter method and rolling shutter method.
If the subject is moving, this difference in shutter method will greatly affect the image quality.
Rolling shutter has poor ability to follow movement. This method sequentially exposes each sensor row at a time, so if the subject moves, the image will be distorted.
On the other hand, global shutter has good ability to follow movement. This is because the sensor is exposed all at once, so there is no difference in exposure time.
However, if you are photographing while the object is still under microscope observation, there is often no problem with the rolling shutter method.
・Monochrome camera or color camera?
For general fluorescence observation, monochrome cameras are preferred due to their high sensitivity.
Color cameras have lower sensitivity than monochrome cameras. The cause is the Bayer filter.
This filter is necessary to capture the color information of the image, but it only allows light of certain wavelengths to pass through, reducing the amount of incoming light.
Furthermore, the use of an IR cut filter in front of the camera sensor that cuts out infrared light is another factor contributing to the decrease in sensitivity.
Therefore, when analyzing coexisting molecules using multiple fluorescent substances, it is generally necessary to combine light sources and filters according to their respective excitation and fluorescence wavelengths, and to take images with multiple monochrome cameras.
Recently, there is also fluorescence emission in the visible light range, and as long as the amount of fluorescence emission is at the visible light level (a level that can be seen with the naked eye), fluorescence observation is often performed with a single color camera.
・Number of pixels
You can choose a camera with the number of pixels that suits your purpose.
If you want to shoot with a high pixel count, you tend to choose a camera with a high pixel count, but if you have a high pixel count, the sensor size (number of sensor inches) will generally be larger, making it more likely that vignetting will occur when taking pictures with a microscope. Caution is required.
Therefore, it is necessary to select a camera with the optimal number of pixels that suits the purpose and microscope.
・Summary
A cooled CCD is not absolutely necessary for fluorescence photography.
There is also fluorescence emission in the visible light range, and if the amount of fluorescence emission is at the visible light level (a level that can be seen with the naked eye), fluorescence observation is often performed with a single color camera.
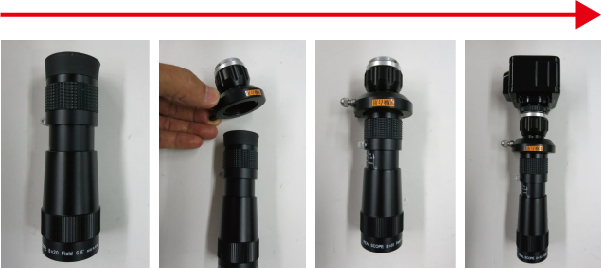
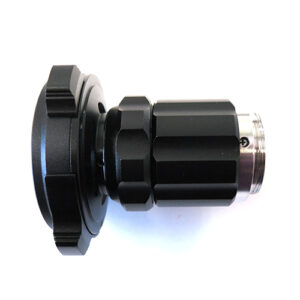
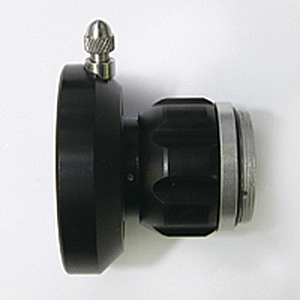
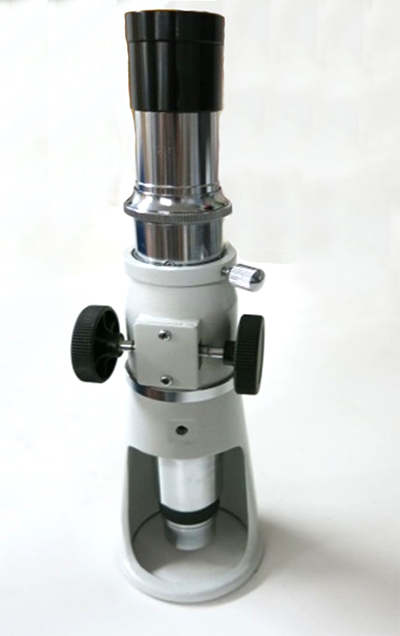
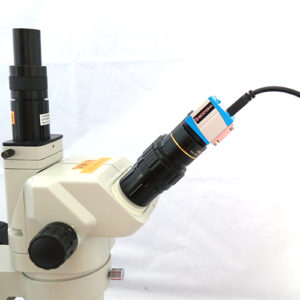
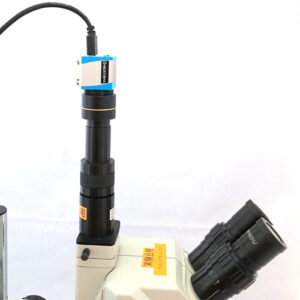
Although we do not handle cooled CCD cameras, we do have color cameras that emit fluorescent light in the visible light range, and that emit fluorescent light at the visible light level (a level that can be seen with the naked eye).
Please see below for product details.