The continuous connection of still images taken at intervals is referred to as a time-lapse video. It is also known as slow-motion filming.
In contrast to slow-motion videos captured with a high-speed camera, which display footage in slow motion, time-lapse videos compress long-duration recordings into shorter playback times.
Consequently, unlike prolonged video recording, time-lapse videos require less storage capacity while enabling extended periods of capture.
Furthermore, since each frame is a still image, high-resolution filming is also achievable.
<Reference> Below is a sample video of time-lapse found on YouTube.
https://www.youtube.com/watch?v=UQ_QqtXoyQw
(It can be applied to capturing the slow changes of various subjects, such as microbial movement and tissue culture.)
Capturing time-lapse videos can be easily done even without dedicated equipment.
Method for Time-Lapse Shooting:
(1) Many cameras come with built-in time-lapse shooting features, which allow for easy capturing.
(2) You can also download time-lapse compatible apps and use your smartphone for shooting.
(3) Perform interval shooting to capture still images. Then, utilize editing software to create a time-lapse video.
Create a time-lapse video using our company’s product
To create a time-lapse video using our company’s product, you can follow the method mentioned in (3) above.
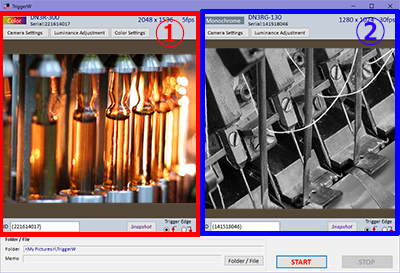
To perform interval shooting with our USB camera, you will need to use our dedicated software, Hi TriggerQ, to capture the subject and save multiple still images.
|
<Introducing Hi TriggerQ>
■Interval Shooting Capability
You can set any desired time interval for interval shooting. (From 1 second to 99999 seconds)
It allows convenient capture of still images, which is useful for creating time-lapse videos.
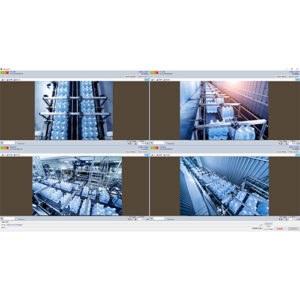
With our company’s USB camera, time-lapse shooting is possible for various applications, such as macro photography using a microscope, and monitoring purposes using regular fixed-focus lenses for line surveillance.
|
Firstly, we attempted interval shooting within our company premises using the aforementioned software.
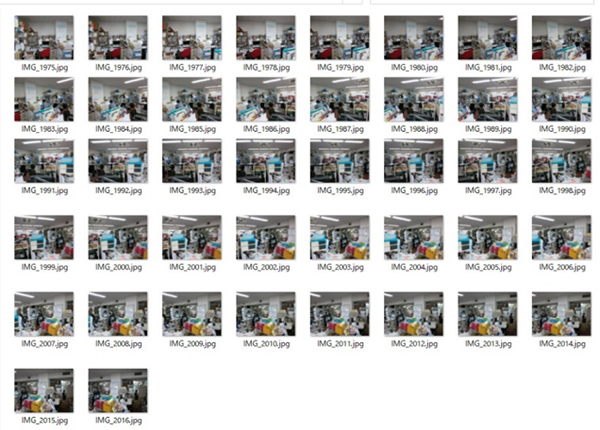
We then used editing software to merge and create a video from the captured images.
There are various editing software options available, such as Windows Live Movie Maker. However, for this particular case, we tried using the free software called “Panolapse.”
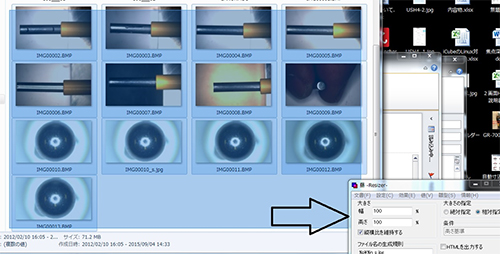
Due to limitations in the free version, we reduced the resolution of the still images.
(These limitations can be lifted by purchasing a license.)
The downloaded files will be in the following format:
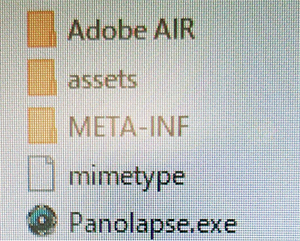
When launching Panolapse.exe, the following screen will appear:
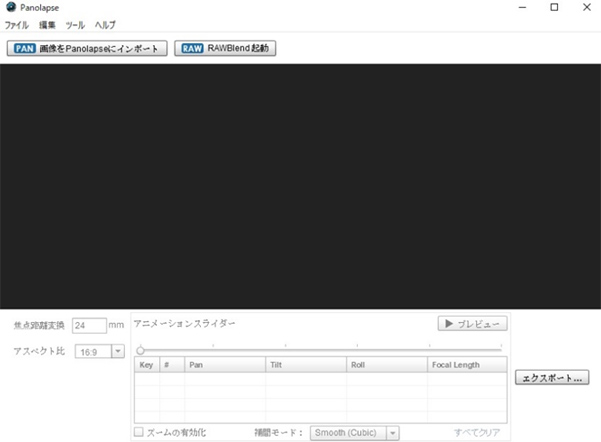
Please follow these steps to import all the still images captured during the interval shooting into Panolapse:
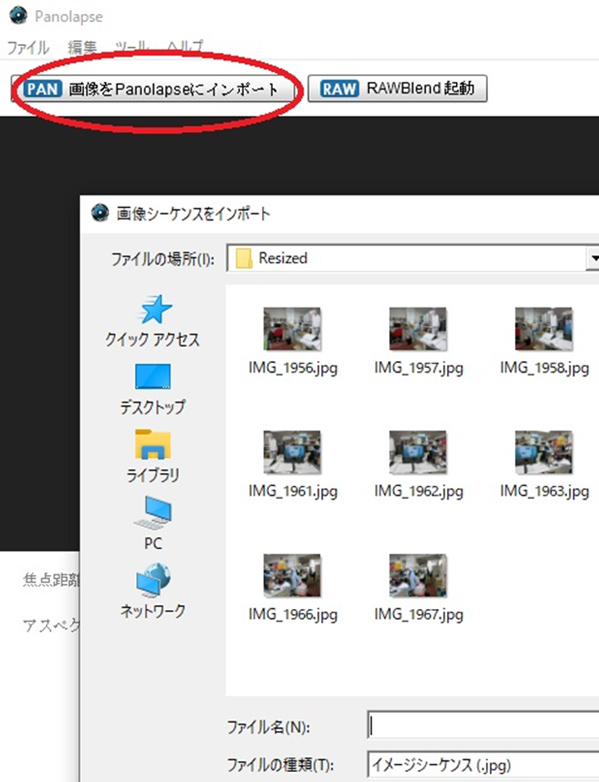
By following these steps and clicking the preview button, your time-lapse video will be created.
Note:
Please note that the editing software mentioned (Panolapse) is not our company’s product. This is just one example provided for reference purposes.
