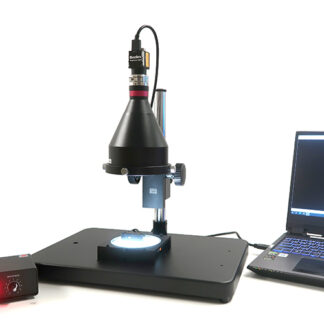
●The use of double-sided telecentric lenses enables highly accurate automatic image dimension measurement!
●Dimensional measurements are manual.
PC is not included.
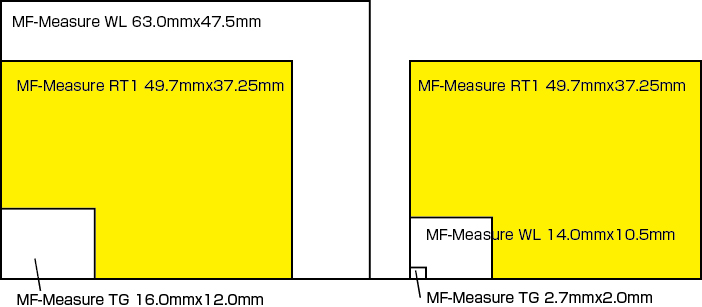
Field of view
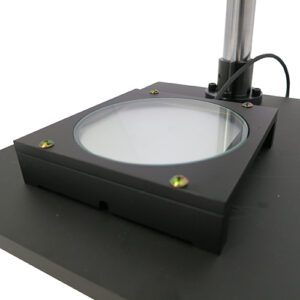
*The actual accessories are transmitted lighting, so they will not appear like this.
 |
|
|
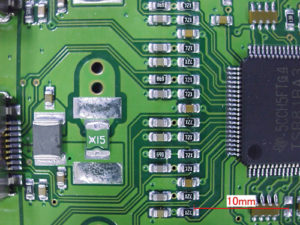
Field of View 49.7mm×37.25mm
|
|
Comparison of field of view
High precision
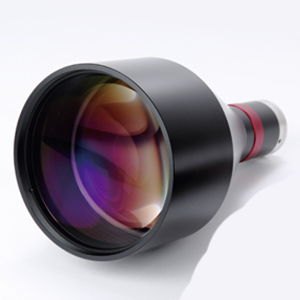
Double-sided telecentric lens
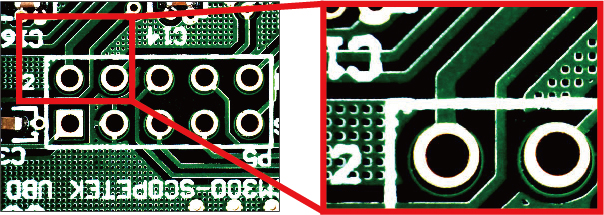
The use of telecentric lenses on both sides eliminates image distortion and enables highly accurate dimensional measurements.
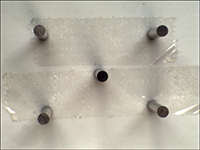
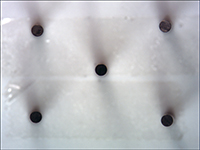
※Comparison between using a telecentric lens and a macro lens
 |
 |
| Use a macro lens |
Uses a telecentric lens |
When using a macro lens, distortion can be seen due to parallax between the center and edges of the screen, even when shooting an object from directly above.
However, when using a telecentric lens, distortion due to parallax between the center and edges of the screen is extremely small, allowing accurate image information to be obtained regardless of where the object is displayed on the screen.
Parallel light transmitted illumination
The use of parallel light transmission illumination reduces light reflection on the target object, resulting in clear contours and emphasized edges, enabling highly accurate dimensional measurements.
Various dimension measurement tools and measurement assistance functions
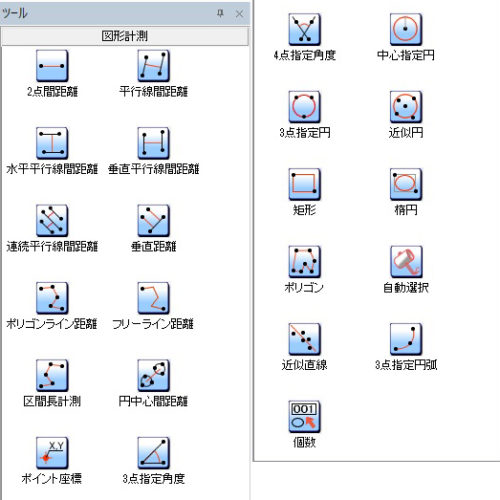
Various measurement items
● Distance between two points
● Distance between parallel lines
● Distance between horizontal parallel lines
● Distance between vertical parallel lines
● Vertical distance
● Distance between circle centers
● Point coordinates
● Angle from 3 points
● Angle from 4 points
● Diameter of a circle defined by 3 points
● Approximate circle
● Rectangle
● Ellipse
● Approximate straight line
● An arc defined by 3 points, etc. |
 |
【Edge automatic fit function】
When you move your mouse cursor close to the line you want to measure, the cursor will automatically fit onto the edge.
Therefore, it reduces human error and enables accurate measurement.
【Pinpoint digital zoom function】
By turning the mouse wheel, you can digitally zoom in the area around the center point indicated by the mouse cursor.
Therefore, it further reduces human error.
【Scale display】
You can display a scale in any place you like with a size of your choice.
Other features
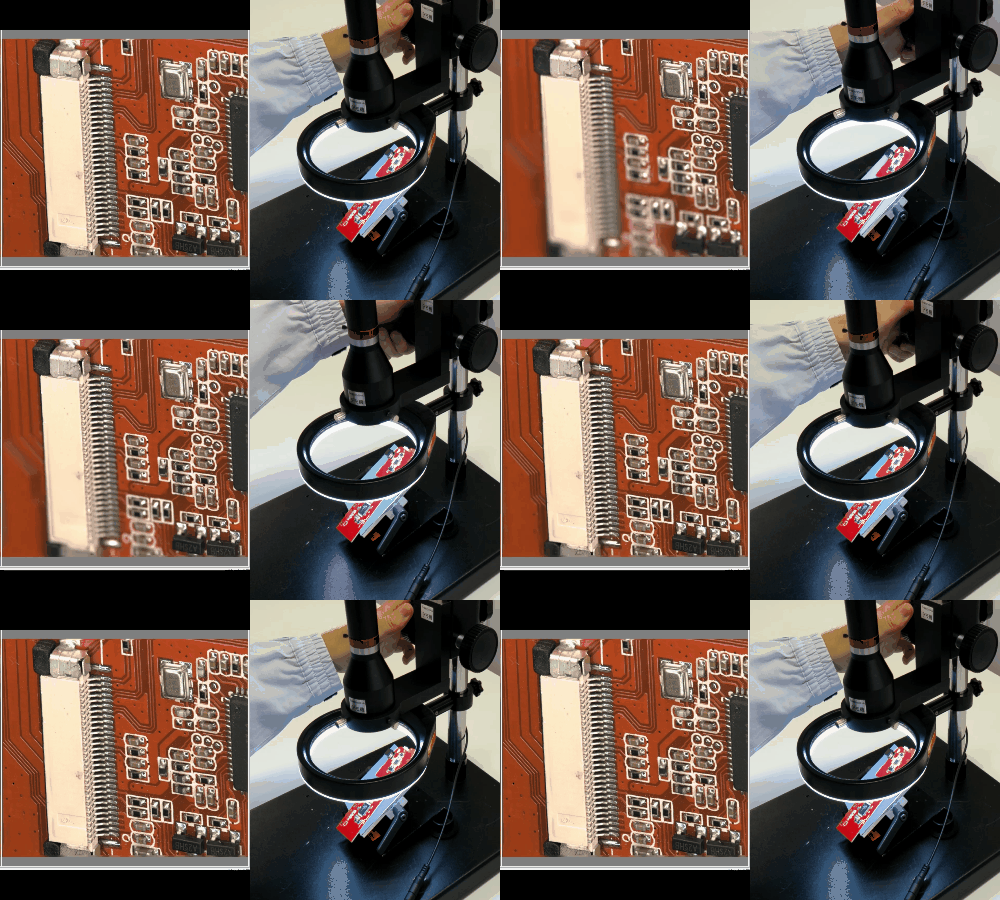
【Focus stacking while manually turning the vertical focus adjustment (coarse adjustment knob)】
This “focus merging” function combines focuses while you turn the vertical focus adjustment (coarse adjustment knob) of the microscope or stereomicroscope. You can easily create a focus-stacked image from images of various height and out of focus. Thanks to the “automatic position correction” function, you can also focus stack images taken with a stereomicroscope.
【Brightness Composition】
Depending on the subject, dark and bright areas may appear at the same time, and adjusting the brightness of one of them may result in the other appearing too dark or too bright.
If this occurs, use brightness synthesis to instantly solve the problem!
Just adjust the brightness so that the dark areas are bright enough, then press the synthesis button to change the brightness of the areas that are too bright so that they appear normal, and you can easily create a composite image.
【Report creation】
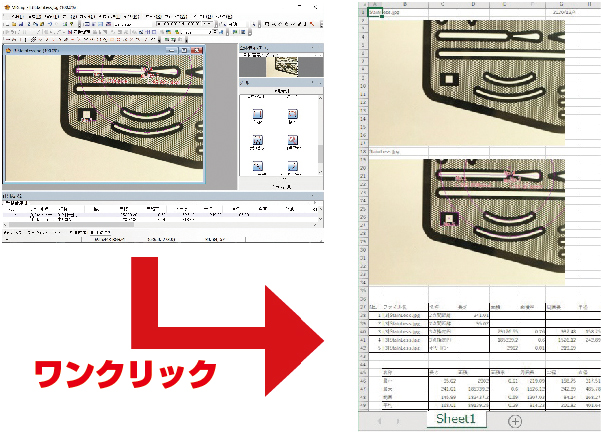
You can export measurement data to Excel with one click of the Output Excel button.
You can easily process data and present them through Excel graphs.
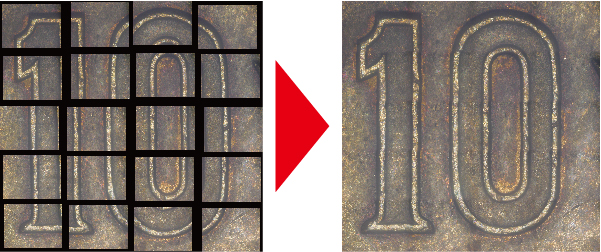
【Image connection function (tiling function)】
An image connection function that generates a wide-field, high-resolution image by splitting the screen and pasting those images on an object that does not fit within the microscope’s field of view of. When using a magnified image like one generated with a microscope, you can perform a wide range of observations and analyzes while maintaining accuracy.
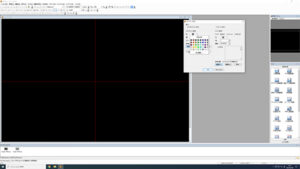
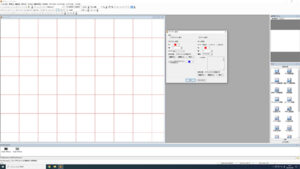
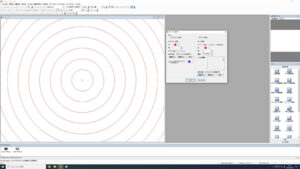
【Arbitrary crossline / grid / concentric circle generation function】
You can show crosslines, grids, and concentric circles at any position. You can also change line color and thickness.
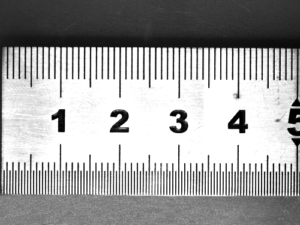
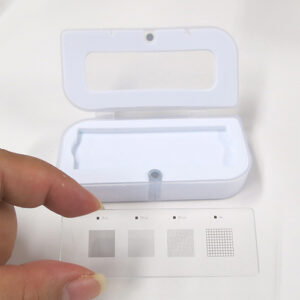
Calibration glass scale included as standard Four types of scales: 20µm/100µm/500µm/1mm increments
GS-4SQ included as standard
Operating environment
PC is not included. Please prepare a computer with the following specifications.
| Supported OS |
Windows 8、8.1、10(64bit) |
| CPU |
Intel Core i3 or higher |
| Memory |
8GB or more |
If you want automatic version, go for this one
Easy to use! Just click
Various measurement functions and focus stacking are also possible
|
Automatic Dimension Inspection Machine
AT-Measure RT1
●The use of double sided telecentric lenses enables high-precision automatic image dimension measurement!
●Easy to use! Automatically measure image dimensions with just a click
|
 |
