1. What is Grain Size?
The mechanical properties of metal materials, such as tensile strength and resistance to compressive shear forces, vary depending on the material, necessitating the use of metals appropriate for specific applications. Additionally, heat treatment alters the metallographic structure and, consequently, its mechanical properties. Therefore, the analysis of grain size is a critical inspection for quality assurance of products.
2. Methods for Measuring Grain Size
The commonly used methods to measure the grain size in metals include:
1. Visual comparison using standard charts and a metal microscope (Comparative Method).
2. Incorporating an eyepiece micrometer into the metal microscope for simultaneous observation and comparison (Comparative Method).
3. Incorporating an eyepiece micrometer into the metal microscope for simultaneous observation and calculation (Line-intercept Method).
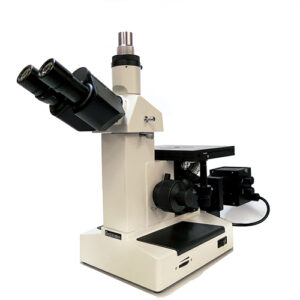
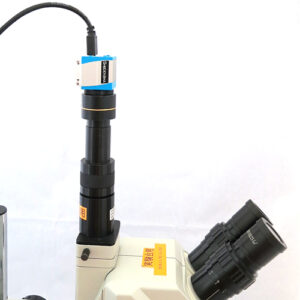
4. Using a camera and software for grain size measurement (Counting/Planimetric Method, Line-intercept Method).
These methods allow for the analysis of the crystal grain size in metallographic structures.
3. Automatic measurement of metal grain size using software
With method ④ above, the grain size can be measured automatically using software, increasing efficiency.
 |
金属顕微鏡の詳細はこちら |
 |
顕微鏡用USB3.0カメラ(500万画素) HDCT-500DN3 |
 |
4. Additional Convenient Features of Grain Size Measurement Software: Comparative Method
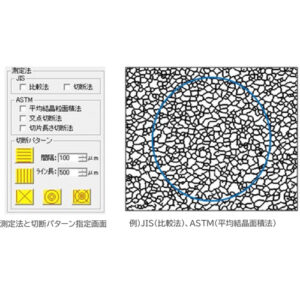
This is a visual inspection method. A sample, such as a metallographic structure, is placed under a microscope. The process involves simultaneous observation of the sample under the microscope and comparison with a “Grain Size Standard Chart (×100) JIS G 0551” or an “eyepiece micrometer (reticle)” printed with the standard chart. The grain size is determined by matching the closest standard chart.
This software facilitates the calculation of grain size by simply selecting the appropriate standard chart while observing the microscope camera’s live video feed. It allows for the superimposition of the standard chart over the live video feed from the microscope camera, providing a highly convenient and efficient feature.
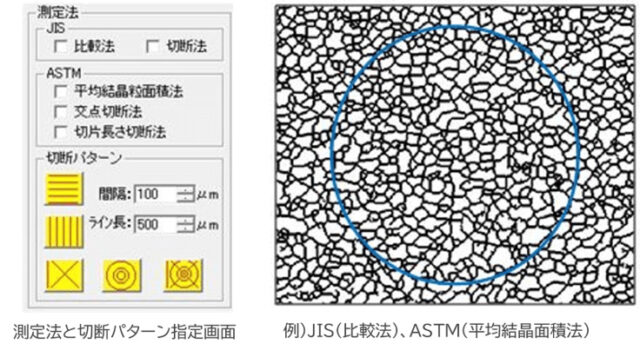
② Counting / Planimetric Method, Line-intercept Method
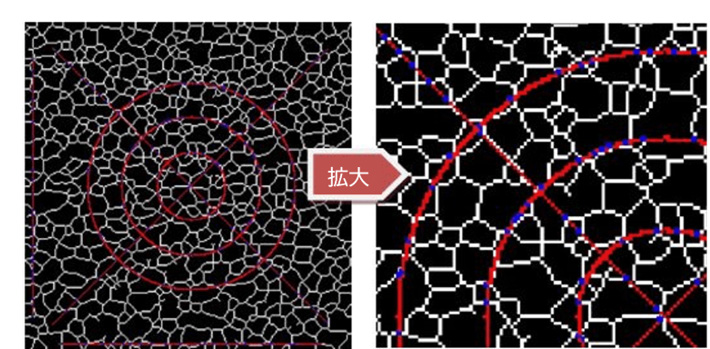
The Line-intercept Method involves drawing a test line (pattern) on a captured microscopic image. The grain size is calculated by measuring the average line segment length that crosses through each crystal grain when the pattern intersects with the grains. This technique provides an accurate measure of the grain structure’s dimensions by quantifying the interactions between the line and the microstructure.
**Measurement Display Example: ASTM (Line-intercept Method, Line Length Comparison Method)**
After the measurement, areas where the grain boundaries intersect with the test pattern are highlighted in blue.
*Note: The example image measures an area at a microscope magnification of 100 times, within a 1000×1000 dot range.*
5. Conclusion
If the frequency of grain size measurements is high, utilizing the convenient features of this grain size measurement software for automated measurements is key to reducing labor and enhancing efficiency.

