I have observed various specimens using the Internal Wall Observation Microscope.
・PHL200BAでの観察事例①:φ8mm穴内のクロス穴バリ観察
・PHL200BAでの観察事例②:φ18mmパイプ穴内壁キズ検査
・PHL200BAでの観察事例③:φ30mm穴内壁段違い+クロス穴検査
・PHL200BAでの観察事例④:φ45mm穴内壁クロス穴検査
Observation Case ① with PHL200BA
Observation of Cross-Hole Burr in a φ8mm Hole
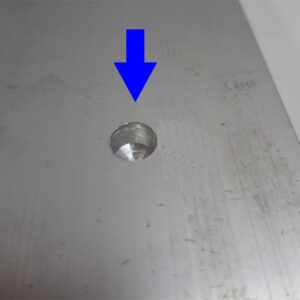
It’s a drill hole in an aluminum plate.
I observed the cross-hole inside.
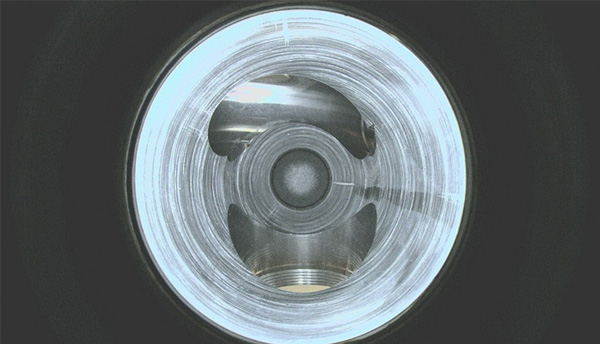
With the adoption of ultra-small diameter LED ring illumination, light penetrates the hole effectively, ensuring clear visibility. The depth of this hole is approximately 20mm, achieving full circumference focus in one go, allowing clear observation of cross-hole burrs as well.
Observation Case ② with PHL200BA
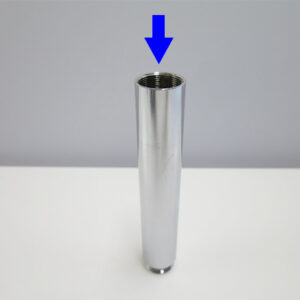
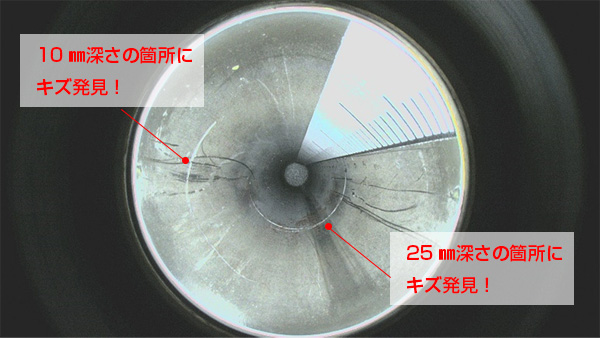
I conducted a scratch inspection on the inner wall of our company’s extension pole (inner diameter φ18mm).
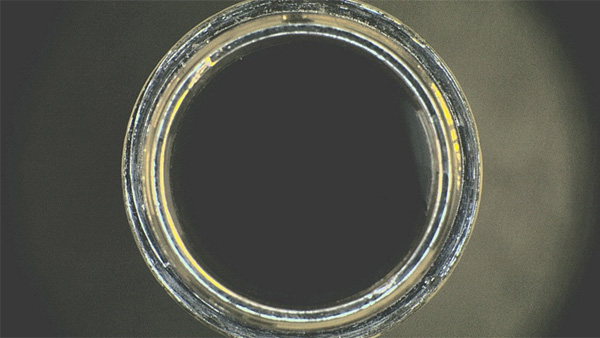 |
Light does not enter the hole, and the inner walls of the hole are completely invisible. Thus, inspection cannot be conducted. |
■ Inspection Image with PHL200BA
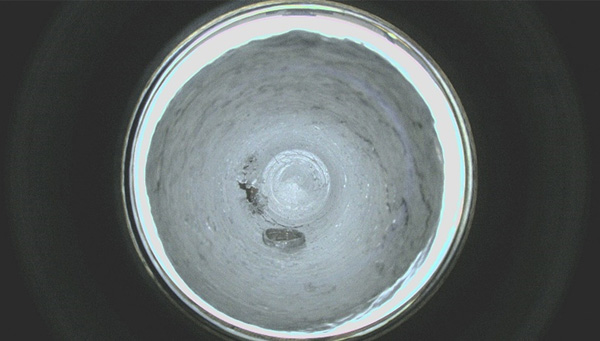
By utilizing ultra-small diameter LED ring illumination, light effectively enters the hole, allowing for clear visibility. The microscope achieves full circumference focus in one go up to approximately 0-30mm depth, enabling the observation of scratches even at 25mm depth.
Observation Case ③ with PHL200BA
I have observed the angled hole in our company’s microscope (inner diameter φ30mm, with staggered cross-holes inside).
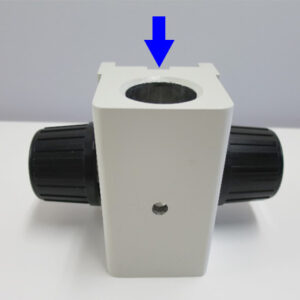
< (Reference) Inspection Image from Zoom Lens Type Digital Microscope >
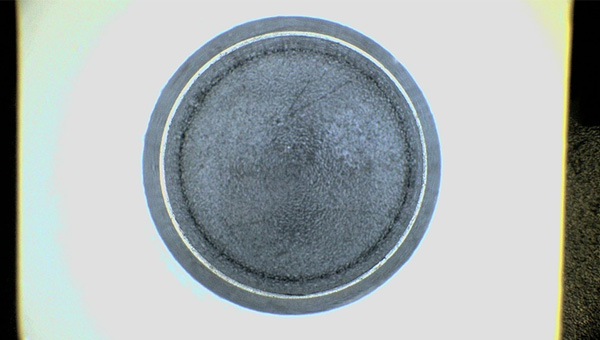 |
Light enters the hole, but the inner walls of the hole are completely invisible. Inspection cannot be conducted under these conditions. |
■ Inspection Image with PHL200BA
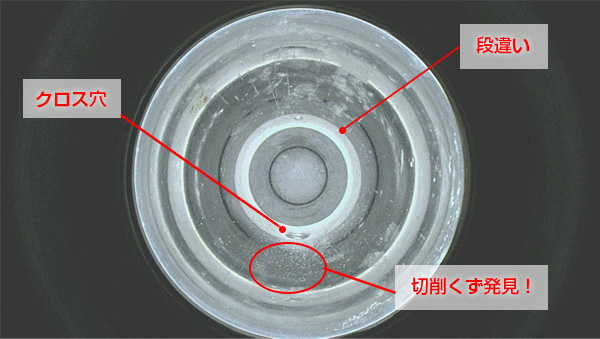
By utilizing ultra-small diameter LED ring illumination, light effectively enters the hole, enabling clear visibility. The microscope achieves full circumference focus in one go up to approximately 0-50mm depth, allowing observation of step differences and cross-holes. During this inspection, machining debris was observed around the cross-holes.
Observation Case ④ with PHL200BA
Observation of Cross-Holes in φ45mm Hole Wall
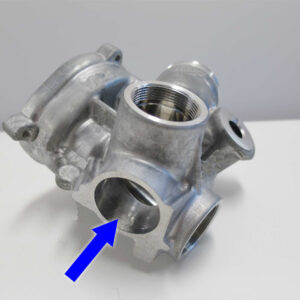
I observed the inner diameter φ45mm hole in aluminum casting near the engine area.
< (Reference) Inspection Image from Zoom Lens Type Digital Microscope >
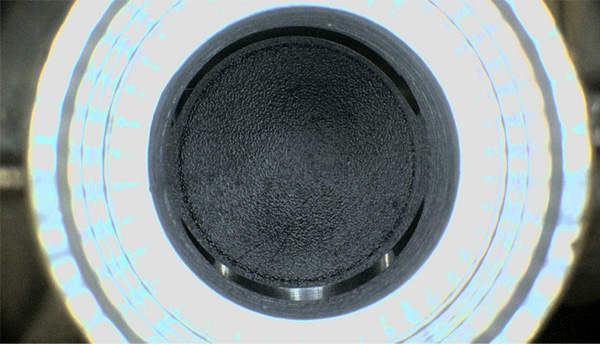 |
Light enters the hole, but the inner walls of the hole are completely invisible. Inspection cannot be conducted under these conditions. |
■ Inspection Image with PHL200BA
With the adoption of ultra-small diameter LED ring illumination, light effectively enters the hole, providing clear visibility. The microscope achieves full circumference focus in one go up to approximately 0-50mm depth, allowing observation of cross-holes as well. The area around the cross-holes is also clearly visible.

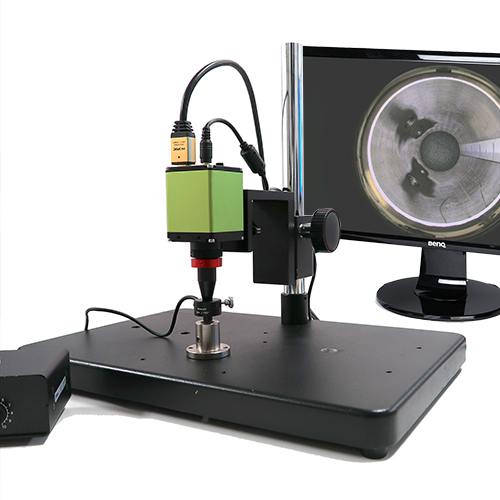
For more details on the “Internal Wall Observation Microscope” used in the above observation, please click here to view the product information.
 |
392,000円(税抜)
|
If you need to observe deeper holes, …
For Case ②:
■ Inspection Image with PHLH200BA
By using a narrow 30° LED ring illumination, the hole inspection lens can be inserted slightly into the hole, enabling observation. The microscope achieves full circumference focus up to approximately 100mm depth in one go, allowing for observation.
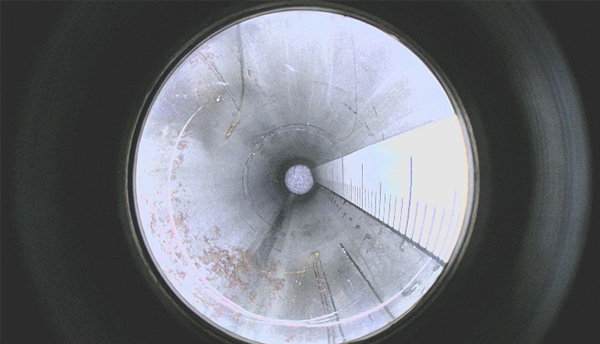
For Observation Case ②
■ Inspection Image with PHLH200BA
By using the small diameter 30° LED ring illumination, the internal wall observation lens can be inserted slightly into the hole. It achieves full circumference focus up to approximately 100mm depth in one go, allowing observation.
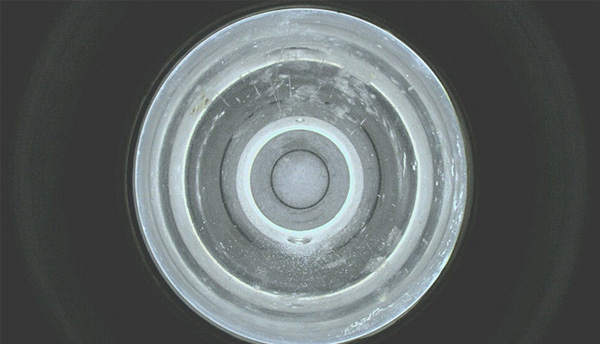
Observation Case ④
■ Inspection Image with PHLH200BA
By using the small diameter 30° LED ring illumination, the internal wall observation lens can be inserted slightly into the hole. It achieves full circumference focus in one go up to approximately 100mm depth, enabling observation.
